Dried Blood Spot Card Collection Instructions
TO PREVENT REJECTED SPECIMENS, PLEASE READ ALL INSTRUCTIONS BEFORE BEGINNING COLLECTION
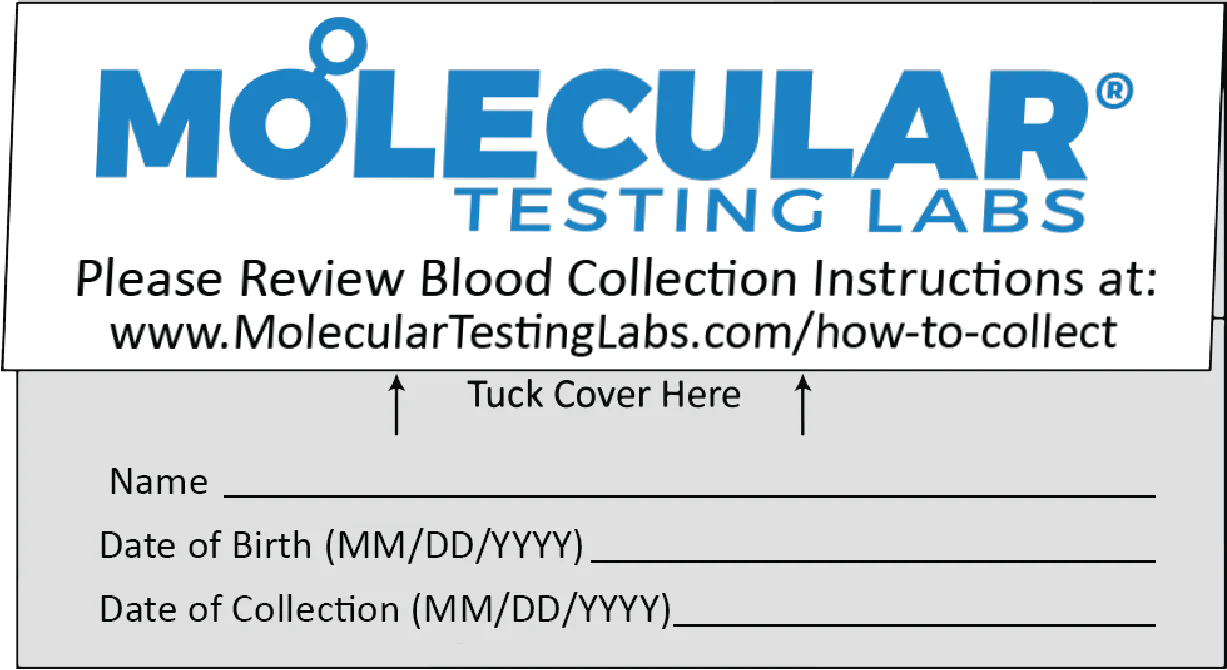
- Write your name, date of birth, and the date of collection in the designated fields.Use MM/ DD/YYYY format.
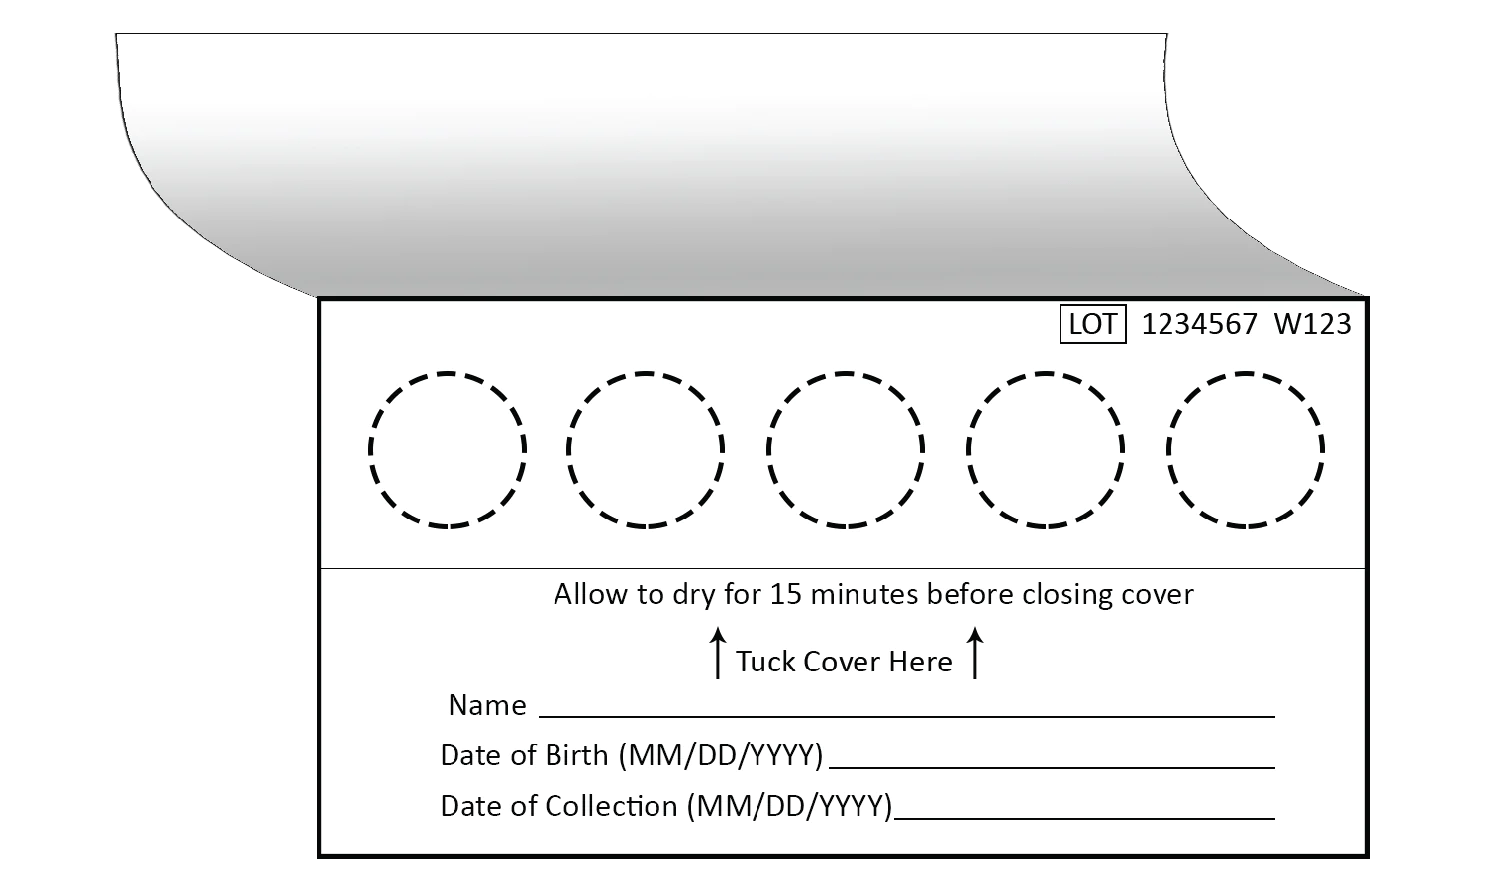
- Open blood card flap to expose the circles on the blood collection paper. Do not touch the blood collection paper.
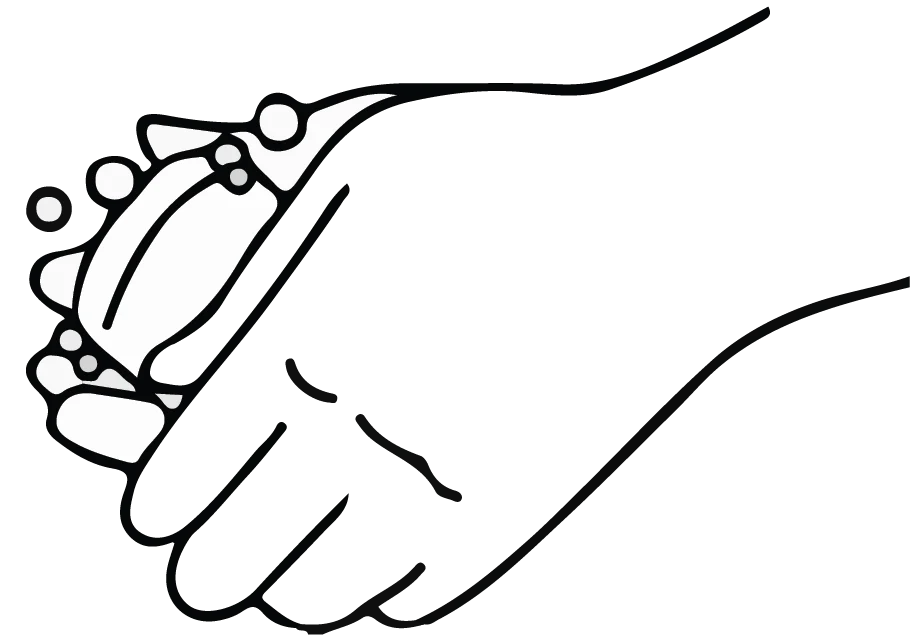
- Wash hands with warm water for at least 30 seconds, then shake hands vigorously for 15 seconds to encourage blood flow to your fingers.
- Clean fingertip with alcohol pad. It is best to use the middle or ring finger of your non-dominant hand.

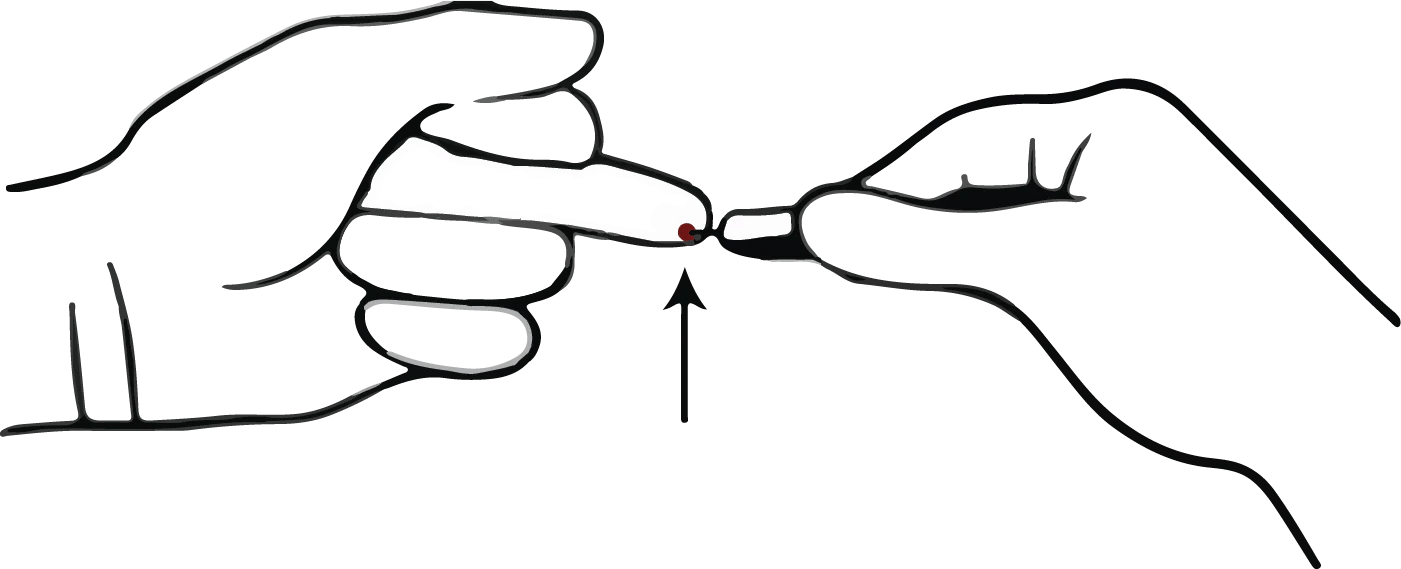
- Take the lancet and twist off the cap. Press the small tip firmly into the side of your finger, near the tip, until the needle ejects with a click. Lancet is single use. Keeping your hand below your heart during collection, massage finger from base to tip to encourage blood flow.
- Starting at the center, apply 3-6 drops to fill the circle and soak through the collection paper. Do not touch the blood collection paper with your finger as this will restrict blood flow. Once circle is full or blood starts to dry, move on to next circle.
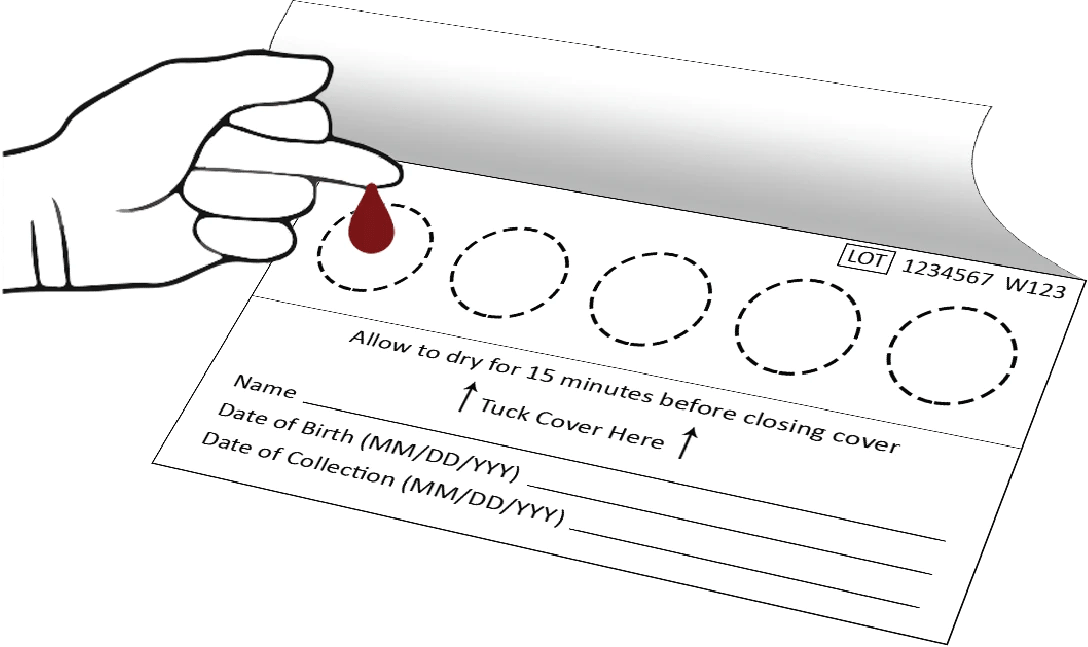
- Fill each circle on the blood collection paper completely. It is okay for blood to extend beyond lines.

More than one drop of blood will be required to fill each circle.

Do not add additional blood to a circle once completed or dry. The “layering” of blood will invalidate the collection.

- Check the back side of blood collection paper. Blood should saturate all the way through and fill each circle of the collection paper.
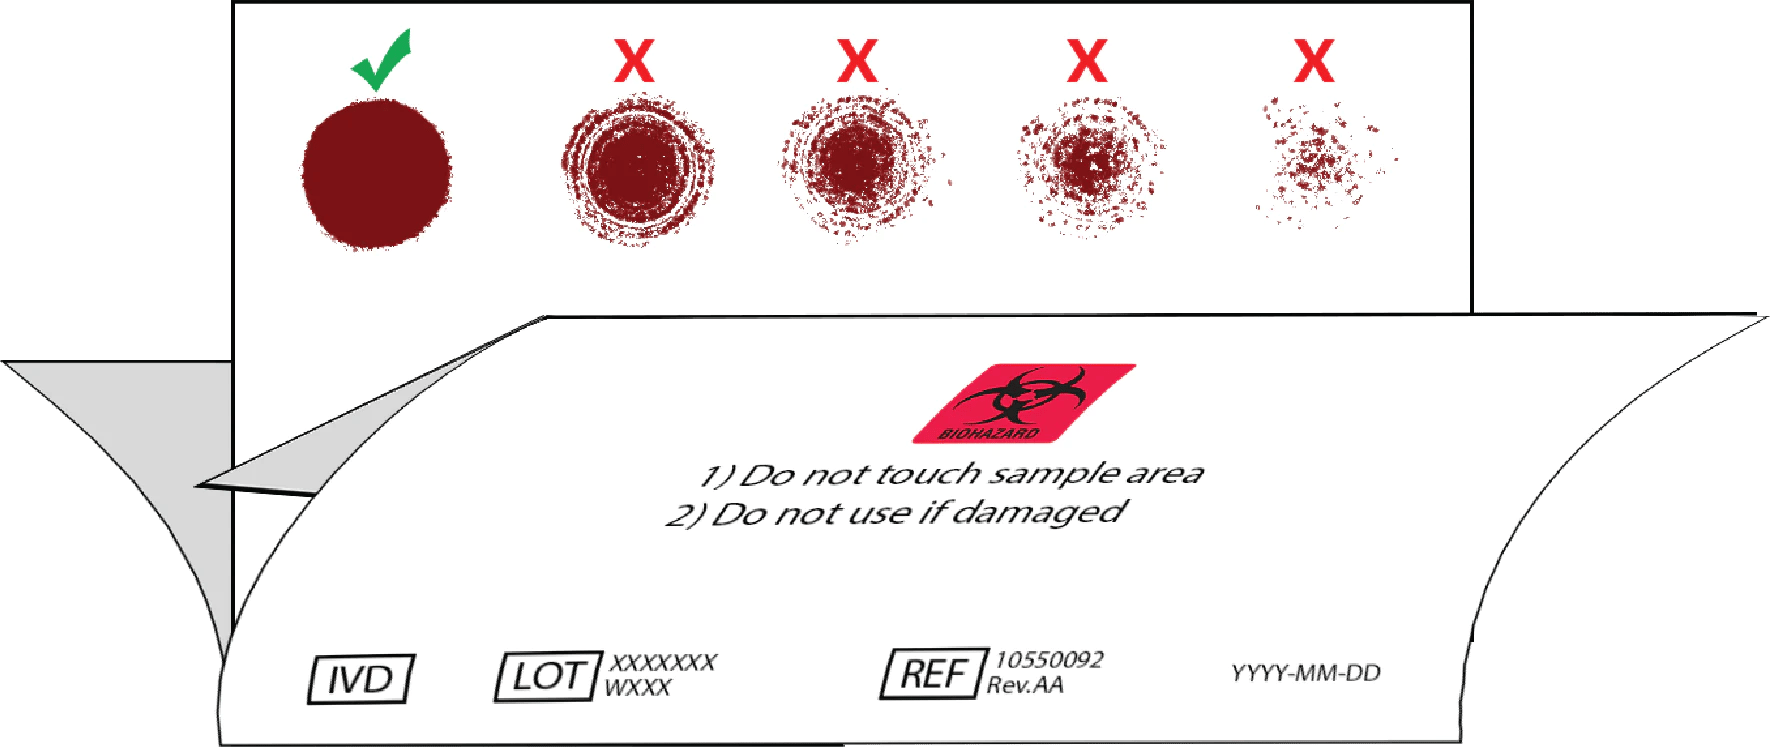
Allow blood collection paper to air dry on a flat surface for 15 minutes. Do not heat or blow dry blood collection paper. Heat will damage the specimen.
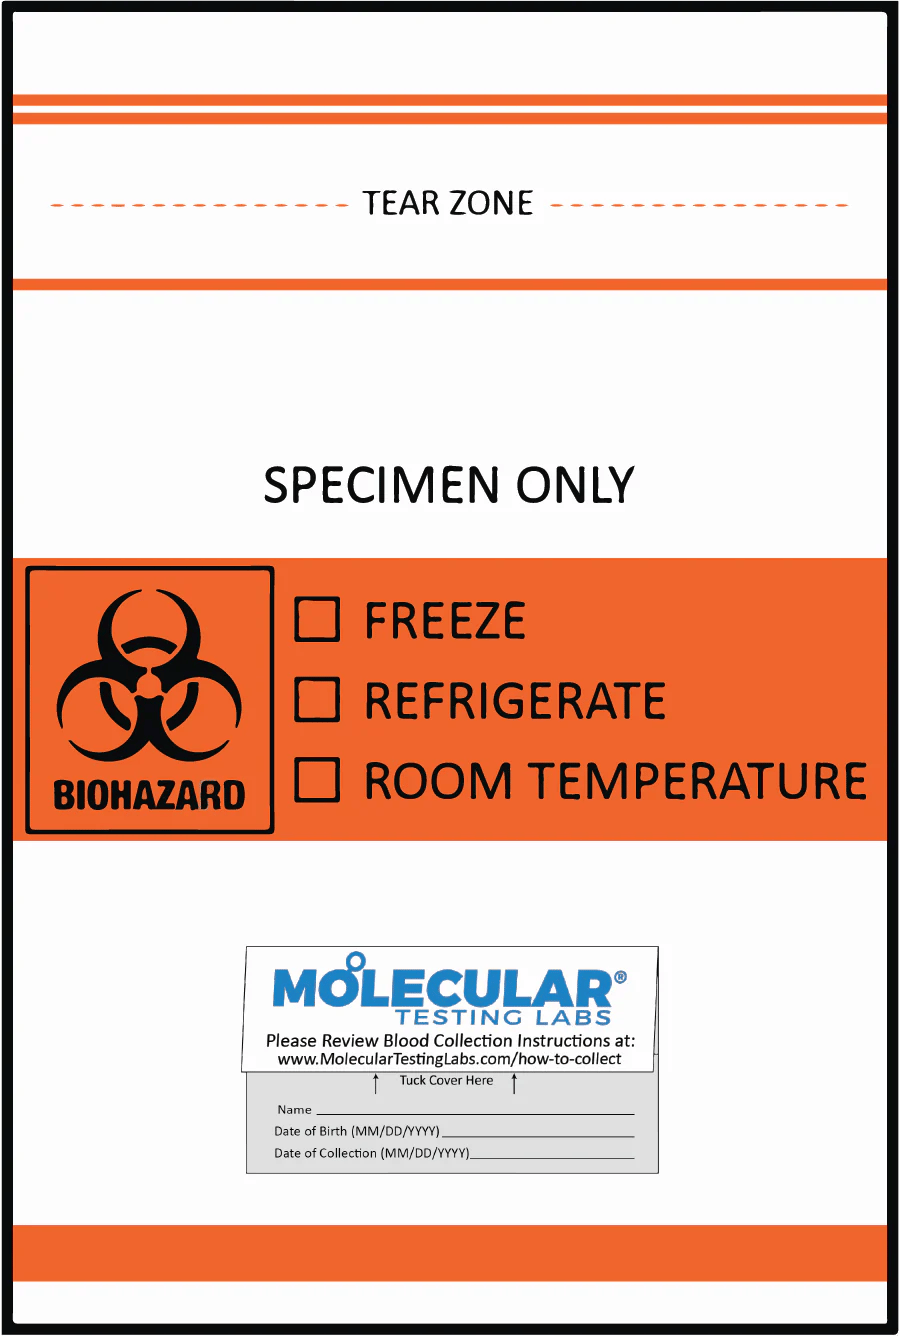
- When blood collection paper is dry, close blood card by tucking flap. Place the blood card into biohazard bag with the desiccant pack. Ensure biohazard bag is properly sealed.
Tips For Proper Blood Collection
- Hydration promotes blood flow. Be sure you are not dehydrated when performing collection.
- Do not perform collection immediately after smoking.
- Washing and warming your hands under warm water will help promote blood flow in your hands.
- Shake hands vigorously towards the floor to encourage blood flow to your fingers.
- Keep blood card and hands below your heart during collection for best blood flow.
[Last updated on August 19, 2020]
Three Site Collection Instructions
These instructions are intended for the collection of samples for oral, genital, and rectal screening.
Please read before continuing
- Blood card collection instructions are included with the blood card kit.
- Your kit may not contain all collection devices in the following instruction. Please only use and follow the instructions for the collection devices provided in your kit.
- Do not eat, drink, or smoke for 30 minutes prior to collection of oral specimens.
- Do not collect vaginal swab specimen during menstruation or within 24 hours of intercourse.
- Do not collect specimens while taking antibiotics and wait at least 7 days to collect specimens after you have stopped taking them.
- Collection tubes may contain a liquid preservative. DO NOT EMPTY LIQUID PRESERVATIVE FROM COLLECTION TUBES IF PRESENT.
- Each collection tube is labeled to indicate collection site (oral, anal, vaginal, urine) it is important that you are placing the correct specimens into each tube to ensure accurate results.
Collection Instructions
Oral Swab

- Hold the swab with the score line above your hand.
- Insert the swab into your mouth and rub swab tip against the back of your throat for 10 seconds.
- Carefully withdraw the swab and place into the collection tube marked “Oral”. Break the swab at the score line by bending against the collection tube.
- Place lid onto the collection tube and ensure it is closed evenly and tightly.
- Write your date of birth in MM/DD/YYYY format onto the tube in the designated area (DOB).
- Write the specimen collection date (today’s date) in MM/DD/YYYY format onto the tube in the designated area (Coll. Date).
- Place specimen into an empty biohazard bag and ensure the seal is closed completely.
Urine

- Do not urinate for at least 1 hour prior to collection. Using first morning urine is best.
- Urinate directly into the collection cup, and collect 30 mL - 50 mL of urine.
- Use the pipette to transfer urine from the collection cup into the collection tube(s) marked “Urine”.
- Fill the collection tube(s) until the combined liquid is between the designated fill lines. Do not fill tube past the maximum fill line or specimen will be rejected.
- Place lid onto the collection tube(s) and ensure it is closed evenly and tightly.
- Write your date of birth in MM/DD/YYYY format onto the tube in the designated area (DOB).
- Write the specimen collection date (today’s date) in MM/DD/YYYY format onto the tube in the designated area (Coll. Date).
- Place specimen into an empty biohazard bag and ensure the seal is closed completely.
Vaginal Swab

- Hold the swab in one hand, and separate the labia (folds of skin around the vaginal opening).
- Insert the swab 3 - 5 cm (1-2 in) into the vaginal opening.
- Gently turn the swab for 30 seconds while rubbing the swab against the walls of the vagina.
- Carefully withdraw the swab and place into the collection tube marked “Vaginal”. Break the swab at the score line by bending against the collection tube.
- Place lid onto the collection tube and ensure it is closed evenly and tightly.
- Write your date of birth in MM/DD/YYYY format onto the tube in the designated area (DOB).
- Write the specimen collection date (today’s date) in MM/DD/YYYY format onto the tube in the designated area (Coll. Date).
- Place specimen into an empty biohazard bag and ensure the seal is closed completely.
Rectal Swab

- Hold the swab with the score line above your hand.
- Insert the swab 3 - 5 cm (1 - 2 in) into the anal canal.
- Gently turn the swab for 5-10 seconds while rubbing the swab against the walls of the rectum.
- Carefully withdraw the swab and place into the collection tube marked “Anal”. Break the swab at the score line by bending against the collection tube.
- Place lid onto the collection tube and ensure it is closed evenly and tightly.
- Write your date of birth in MM/DD/YYYY format onto the tube in the designated area (DOB).
- Write the specimen collection date (today’s date) in MM/DD/YYYY format onto the tube in the designated area (Coll. Date).
- Place specimen into an empty biohazard bag and ensure the seal is closed completely.
Shipping Check List and Instructions
- Have you used all collection devices contained in the kit to collect the required specimens?
- Is your date-of-birth written on all specimen collection tubes and the blood card using MM/DD/YYYY format?
- Is the collection date written on all specimen collection tubes and the blood card using MM/DD/YYYY format?
- If contained in your kit, are blood card circles completely filled with blood and soaked through the collection card?
- Is each specimen collection tube and the blood card sealed in its own biohazard bag? (ONLY one specimen per bag)
- Are all specimens placed into the box?
- Is the box placed into the pre-paid return shipping bag?
- Is the return shipping bag completely sealed?
Drop off your completed kit at any US Postal Service mailbox or US Postal Service Location. You will receive an email notification when your kit is received at the lab, and when your lab results are ready.
[Last updated on September 1, 2021]
Shipping
Molecular Testing Labs can build and ship kits both to clinics and to patients on demand.
We currently support three different shipping methods:
- USPS Priority
- USPS First Class
- FedEx Overnight
If shipments are not extremely time sensitive, we encourage our clients to use USPS Priority for a number of reasons.
Shipping costs are never marked up and simply passed through to the ordering client.
First, why USPS?
USPS delivers six days a week to every single zip code in the US. They are able to deliver our small, discrete kits directly to patients' doors.
It is also easier for patients to return their samples by dropping pre-addressed USPS mailers in any mailbox.
This added flexibility really helps patients receive and return packages.
USPS Priority vs USPS First Class
Both Priority and First Class have the same receiving and returning advantages; their only difference (aside from price) is speed.
- USPS Priority takes 2-3 days each way
- USPS First Class takes 3-5 days each way
Because patients are often antsy about results, we recommend USPS Priority. We know patients appreciate it, and it will lead to less calls for the provider, which we think they'll appreciate as well.
[Last updated on August 19, 2020]
Kitting
Molecular Testing Labs prides itself on our in-house kit construction and fulfillment. Adjacent to our three state-of-the-art labs is a full service fulfillment center.
When you place an order through the Molecular Portal, our lab information system will determine what components need to be sent to the patient so that we can confidently run the desired assays. If a kit with the necessary components has not been pre-built, the fulfillment team will gather the necessary supplies before labeling and shipping the kit out.
Orders received before 2pm Pacific will be sent out same day, while all others will be sent out the following day.
Our most common kits are dried blood spot kits and dried blood spot kits + three site testing.
Our dried blood spot kit contains the following components:
- Whatman 903 dried blood spot card
- 2 safety lancets
- 2 alcohol pads
- 2 band-aids
- 1 gauze pad
- 1 instruction card
- 1 return envelope
If you've received a kit and feel like something is missing, please reach out by filling out the contact form at the bottom of this page.
[Last updated on August 19, 2020]
Instrucciones De Recolección Para Tres Sitios
Estas instrucciones están destinadas a la recolección de muestras para exámenes orales, genitales y rectales.
LEA LO SIGUIENTE
- Registre su kit en la página de internet mencionada anteriormente. Su kit no será procesado si este paso no está completo.
- Las instrucciones de como colectar su sangre están incluidas en el kit.
- Es posible que su kit no contenga todos los dispositivos de colección mencionados en las siguientes instrucciones. Por favor, solo use y siga las instrucciones para los dispositivos de recolección proporcionados en su kit.
- No coma, beba o fume al menos 30 minutos antes de recolectar las muestras orales.
- No colecte muestras de secreción vaginal durante el sangrado menstrual o en las 24 horas después de tener relaciones sexuales.
- No recolecte muestras mientras esté tomando antibióticos. Espere por menos
- días después de que haya dejado de tomar antibióticos para recolectar las muestras.
Instrucciones De Recolección
Hisopo Bucal

- Sostenga el hisopo por la parte inferior a la línea de puntuación con sus dedos.
- Coloque el hisopo en su boca y frote la parte posterior de su garganta con la punta del hisopo.
- Retire el hisopo de su boca con cuidado e introdúzcalo en el tubo de colección. Rompa el hisopo sobre la línea de puntuación doblándolo contra el tubo de recolección.
- Coloque la tapa en el tubo de recolección y cierre con firmeza. Asegúrese de que la tapa esté enroscada de manera uniforme y apretada para evitar derrames.
- Escriba su fecha de nacimiento usando el formato MM/DD/YYYY en la área designada en el tubo de recolección.
- Coloque a lo largo del tubo de recolección uno de los códigos de barra proporcionados. Asegúrese de que el número en el código de barra pueda leerse de abajo hacia arriba.
- Coloque el tubo de recolección en la bolsa de especímenes y cierre la bolsa. Asegúrese de que la bolsa de especímenes esté cerrada correctamente.
Orina

- No orine por lo menos 1 hora antes de la recolección de orina. Lo mejor es usar la primera orina de la mañana.
- Orine directamente en la taza de recolección y recolecte entre 30 ml a 50 ml de orina.
- Use la pipeta para transferir la orina de la taza de recolección al tubo de colección.
- Llene el tubo de recolección hasta que los líquidos combinados estén entre las líneas de llenado designadas en el tubo de recolección.
- Coloque la tapa en el tubo de recolección y cierre con firmeza. Asegúrese de que la tapa esté enroscada de manera uniforme y apretada para evitar derrames.
- Escriba su fecha de nacimiento usando el formato MM/DD/YYYY en la área designada en el tubo de recolección.
- Coloque a lo largo del tubo de recolección uno de los códigos de barra proporcionados. Asegúrese de que el número en el código de barra pueda leerse de abajo hacia arriba.
- Coloque el tubo de recolección en la bolsa de especímenes y cierre la bolsa. Asegúrese de que la bolsa especímenes esté cerrada correctamente.
Hisopo Vaginal

- Sostenga el hisopo con una mano y separe los labios vaginales con la otra mano (pliegues de la piel alrededor de la abertura vaginal).
- Introduzca el hisopo en la vagina unos 5 cm (2 pulgadas).
- Gire el hisopo con cuidado durante 30 segundos mientras frota el hisopo contra las paredes de la vagina.
- Retire el hisopo con cuidado y colóquelo en el tubo de recolección. Rompa el hisopo sobre la línea de puntuación doblándolo contra el tubo de recolección.
- Coloque la tapa en el tubo de recolección y cierre con firmeza. Asegúrese de que la tapa esté enroscada de manera uniforme y apretada para evitar derrames.
- Escriba su fecha de nacimiento usando el formato MM/DD/YYYY en la área designada en el tubo de recolección.
- Coloque a lo largo del tubo de recolección uno de los códigos de barra proporcionados. Asegúrese de que el número en el código de barra pueda leerse de abajo hacia arriba.
- Coloque el tubo de recolección en la bolsa de especímenes y cierre la bolsa. Asegúrese de que la bolsa de especímenes esté cerrada correctamente.
Hisopo Anal

- Sostenga el hisopo por la parte inferior a la línea de puntuación con sus dedos.
- Introduzca el hisopo en el recto entre 3 a 5 cm (1 -2 pulgadas).
- Gire el hisopo con cuidado durante 5 a 10 segundos mientras frota el hisopo contra las pa-redes del recto.
- Retire el hisopo con cuidado y colóquelo en el tubo de recolección. Rompa el hisopo sobre la línea de puntuación doblándolo contra el tubo de recolección.
- Coloque la tapa en el tubo de recolección y cierre con firmeza. Asegúrese de que la tapa esté enroscada de manera uniforme y apretada para evitar derrames.
- Escriba su fecha de nacimiento usando el formato MM/DD/YYYY en la área designada en el tubo de recolección.
- Coloque a lo largo del tubo de recolección uno de los códigos de barra proporcionados. Ase-gúrese de que el número en el código de barra pueda leerse de abajo hacia arriba.
- Coloque el tubo de recolección en la bolsa de especímenes y cierre la bolsa. Asegúrese de que la bolsa de especímenes esté cerrada correctamente.
Instrucciones y Lista de Verificación Para Envíos
- ¿Ha utilizado todos los dispositivos de recolección contenidos en el kit para recolectar las muestras requeridas?
- ¿Todos los tubos de recolección de muestras y en la tarjeta de recolección de sangre tienen un código de barras pegado?
- ¿Está escrita su fecha de nacimiento en el formato MM/DD/YYYY en todos los tubos de recolección de muestras y en la tarjeta de recolección de sangre?
- Si su kit contiene una tarjeta de recolección de sangre, ¿están todos los círculos de la tarjeta de recolección de sangre completamente llenos de sangre?
- ¿Están cada uno de los tubos de recolección de muestras y la tarjeta de recolección de sangre en su propia bolsa de especímenes correctamente sellada? (Cada bolsa debe de tener SOLO una muestra).
- ¿Están todas las muestras dentro de la caja?
- ¿Está la caja dentro de la bolsa de envío de devolución prepagada?
- ¿Está la bolsa de envío de devolución completamente sellada?
Deje su kit completo dentro de cualquier buzón del Servicio Postal de los Estados Unidos o llévelo a cualquier oficina del Servicio Postal de los Estados Unidos. Usted recibirá una notificación por correo electrónico una vez que el laboratorio haya recibido su kit y recibirá otra notificación una vez que sus resultados estén listos.
[Last updated on November 3, 2020]
Instrucciones Para La Muestra De Sangre
Por favor lea todas las instrucciones antes de comenzar con la recolección
- Escriba su nombre, fecha de nacimiento y fecha de recolección en el espacio designado.Use el formato MM/DD/YYYY.

- Abra la tarjeta de recolección de sangre para exponer los círculos. No toque el papel de recolección de sangre.

- Lávese las manos con agua tibia durante al menos 30 segundos, después agite las manos vigorosamente durante 15 segundos para estimular el flujo sanguíneo hacia los dedos.

- Limpie la punta del dedo con una almohadilla con alcohol. Es mejor usar el dedo medio o anular de su mano no dominante.

- Tome la lanceta y gire la tapa. Presione la punta pequeña firmemente en el costado de su dedo, cerca de la punta, hasta que la aguja se expulse con un click. Las lancetas son de un solo uso.

- Manteniendo la mano por debajo del nivel del corazón durante la recolección, masajee el dedo desde la base hasta la punta para estimular el flujo sanguíneo. A medida que se forma la gota de sangre, toque el centro del círculo con la gota. No toque la tarjeta de recolección de sangre con el dedo, ya que esto restringirá el flujo sanguíneo, reducirá la saturación y puede provocar el rechazo de la muestra.

- Llene cada círculo de la tarjeta de recolección de sangre por completo. Está bien que la sangre se extienda más allá de las líneas.

Se necesitará más de una gota de sangre para llenar cada círculo.
- Revise el reverso de la tarjeta de recolección de sangre. La sangre debe saturarse por completo y llenar cada círculo en ambos lados de la tarjeta. Entre más sangre, mejor.

Permita que la tarjeta de recolección de sangre se seque al aire libre sobre una superficie plana durante 15 minutos. No caliente ni sople la tarjeta de recolección de sangre. El calor dañará la muestra.
- Cuando la tarjeta de recolección de sangre esté seca, cierre la tarjeta de sangre doblando la solapa. Coloque la tarjeta de sangre en la bolsa de especímenes y agregue el paquete desecante. Asegúrese de que la bolsa de especímenes esté cerrada correctamente.

Recomendaciones para la extracción de sangre
- La hidratación promueve el flujo de sangre. Asegúrese de no estar deshidratado cuando realice la recolección.
- No realice la recolección de sangre inmediatamente después de fumar.
- Lavarse y calentarse las manos con agua tibia ayudará a promover el flujo de sangre en sus manos.
- Agite sus manos vigorosamente hacia el piso para estimular el flujo de sangre a hacia sus dedos.
- Mantenga la tarjeta de recolección de sangre y sus manos por debajo del nivel del corazón durante la recolección para facilitar el flujo sanguíneo.
[Last updated on August 19, 2020]
Send us a message
How can we help?
We usually respond in a few hours
Address: 14401 SE 1st Street, Vancouver, WA 98684
© 2023 Molecular Testing Labs. All Rights Reserved. CLIA #50D2050397 CAP #8690528